When I first started in my undergraduate lab, one of the first things I learned was how to prepare agar plates for growing yeast. My supervisor, a grad student, looked over my shoulder as I added the yeast extract, bacto peptone, and other ingredients. I sealed the pitcher tightly with aluminum foil and autoclaved it until sterile. When I was ready to pour the plates, I carried the pitcher to the “plate-pouring” room, ripped the foil off, and started to pour an even layer of agar into each of the plastic dishes, leaving the lids off so they could cool. After I’d poured a dozen or so, my grad student supervisor burst into the room.
“What are you doing?” she demanded.
“I’m pouring plates,” I stammered back.
She took a deep breath and explained. By fully uncovering the pitcher and leaving my plates uncovered, I had left my precious media at high risk for contamination. The open containers were far too inviting for potential contaminants floating through the air. In the end, we ended up throwing away several of the plates that had been exposed the longest.
Now, I don’t share this story to demonstrate how clueless when I first started in the research lab as an undergrad. We all have those “uh-oh” moments when we realize for the first time that something that seemed so obvious was, in fact, more complicated than we’d expected. However, that day I learned how easily I could sabotage my own work by unwittingly inviting contaminants into my experiments.
Whether you work with yeast, bacteria, mammalian cells or anything else in a molecular biology lab, preventing contamination is crucial to getting desired results. Fortunately, minimizing your risk can be incredibly easy.
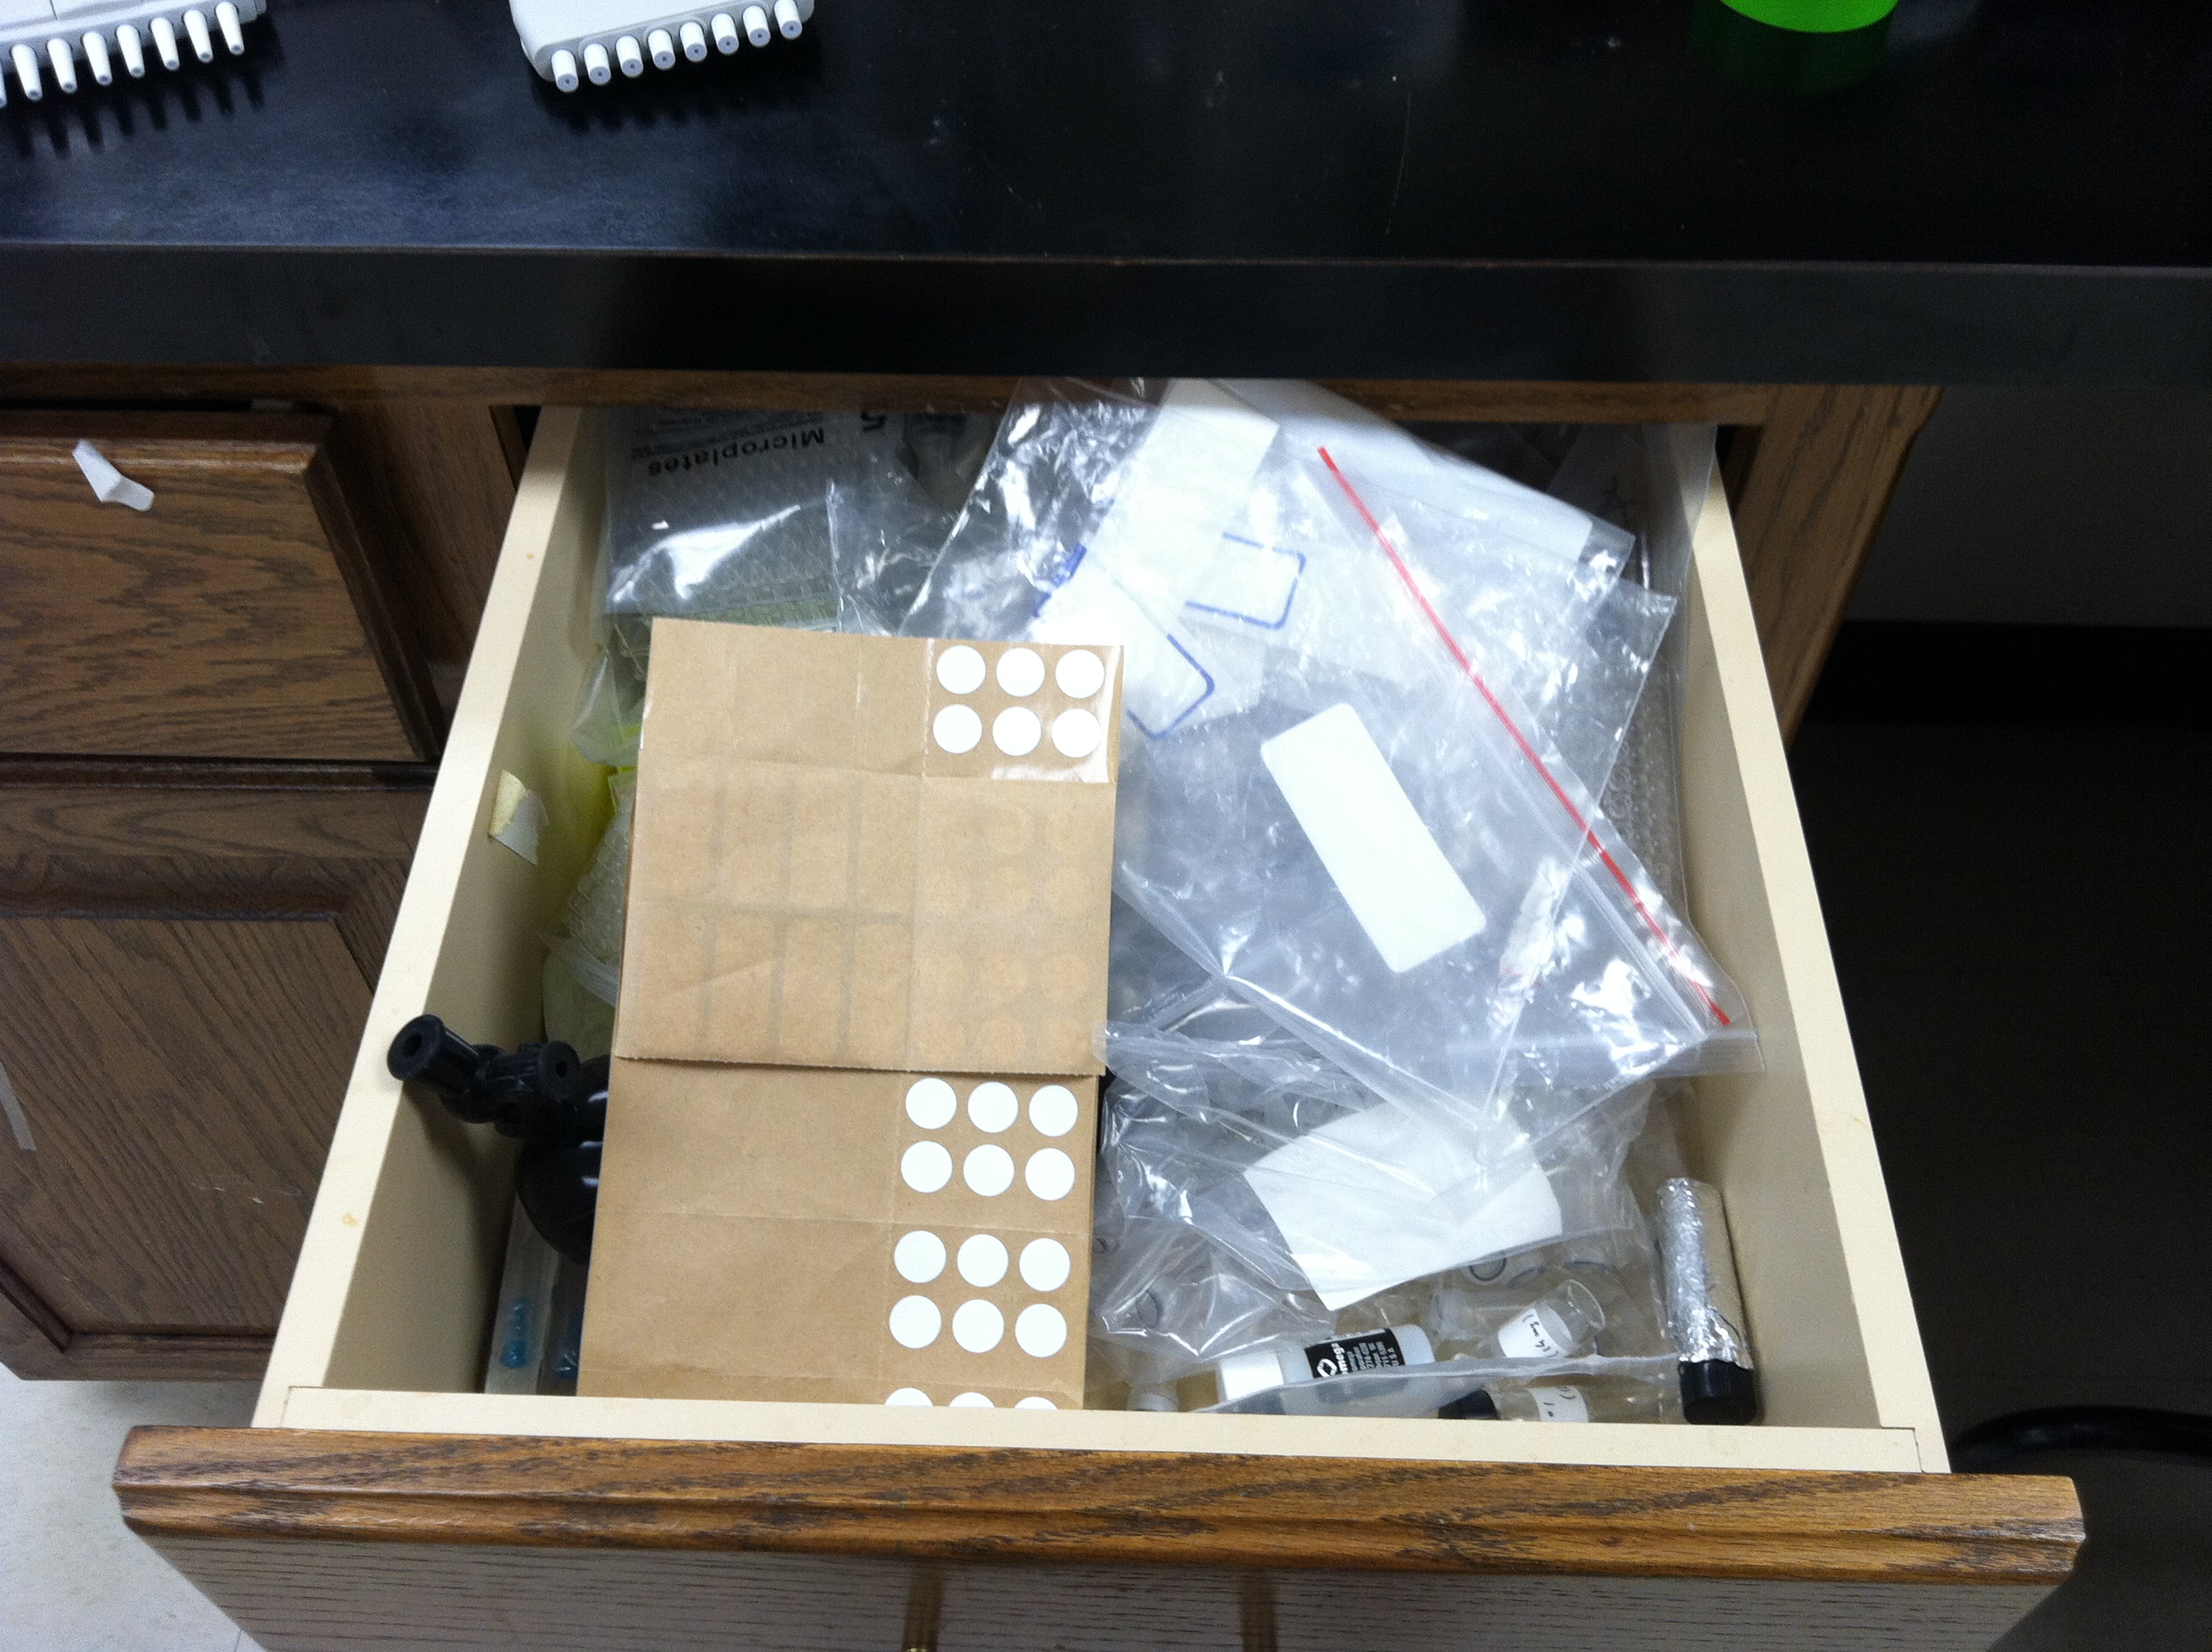
Let’s start with your lab bench. Everyone has their own organization system, but if yours is “out-of-control chaos,” you might want to reevaluate. Benchtop clutter makes it difficult to thoroughly clean the bench as often as needed. All those bottles of solutions, empty tip boxes, and wrinkled protocol sheets harbor dust and other unwelcome particles that you want to keep away from your cultures and reactions.
Once your benchtop is tidy (or at least somewhat tidy), make sure you keep the surface as clean as possible. Immediately clean up any spills or drips that happen while you’re working. Wiping your workspace with a 10% bleach solution will sterilize it, and following that up with 70% ethanol will dry it quickly. This wash should be performed at least once a day. Ideally you should also regularly remove everything from your workspace and perform a deeper cleaning of your benchtop, as well as any shelves and containers in your area.
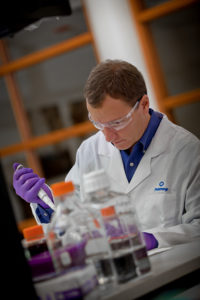
Now that your bench is in good shape, it’s time to gear up . You should always follow standard safety procedures (lab coat and goggles, closed-toe shoes, hair tied back), but above all, make sure you never forget your gloves. Gloves protect you from harmful chemicals, but they also protect your experiments from anything that could be on your hands. Skin can carry reagents, bacteria, and enzymes that are good for your body but bad for your experiments. Change your gloves regularly to prevent potential carryover of reagents or samples between containers. A good rule is, “When in doubt, change your gloves.”
Finally, to guard against airborne contaminants, do your best to keep everything covered when you aren’t immdiately using it. I learned this rule the hard way when several of my yeast plates developed fuzzy patches of mold several days after I poured them. Bacteria and other undesirables floating through the air can affect stock solutions, cultures, plates, tubes, and basically anything else you rely on. Keep your lids on and cover open containers to minimize air exposure to reduce the chances of nefarious particles finding their way in.
There’s no way to guarantee you’ll never experience some form of contamination in your lab, but smart practices can help reduce your risk. Develop an anti-contamination routine that meets your needs and make sure you stick to it every day in the lab.

